What did you do today? Cobba's rebuild

General Discussion Forum for TRX Enthusiasts...

Moderators: trixynut, Mincehead, dicky, phuk72, Jak, Kevtrx849

Post Reply
cobbadiggabuddyblooo
Site Sponsor
Posts: 6809
Joined: Thu Aug 28, 2008 9:19 am
Location: Brisbane,Australia

Re: What did you do today? Cobba's rebuild

Post by cobbadiggabuddyblooo » Tue Jan 21, 2014 12:54 pm

So it's been a while since making any real progress on the bike but last weekend ,it was time to pull the last bits n pieces from the frame and give them a good dose of degreaser and water blast them as clean as possible ready to hand to Alex for him to weave some of his magic upon these components.

Image

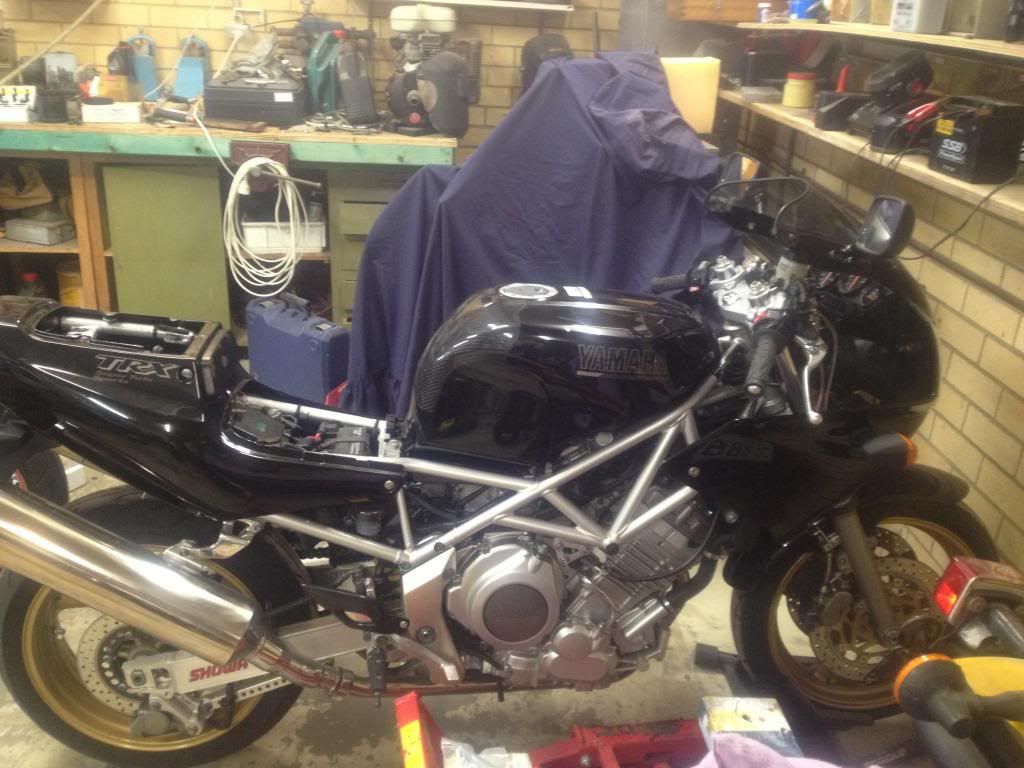
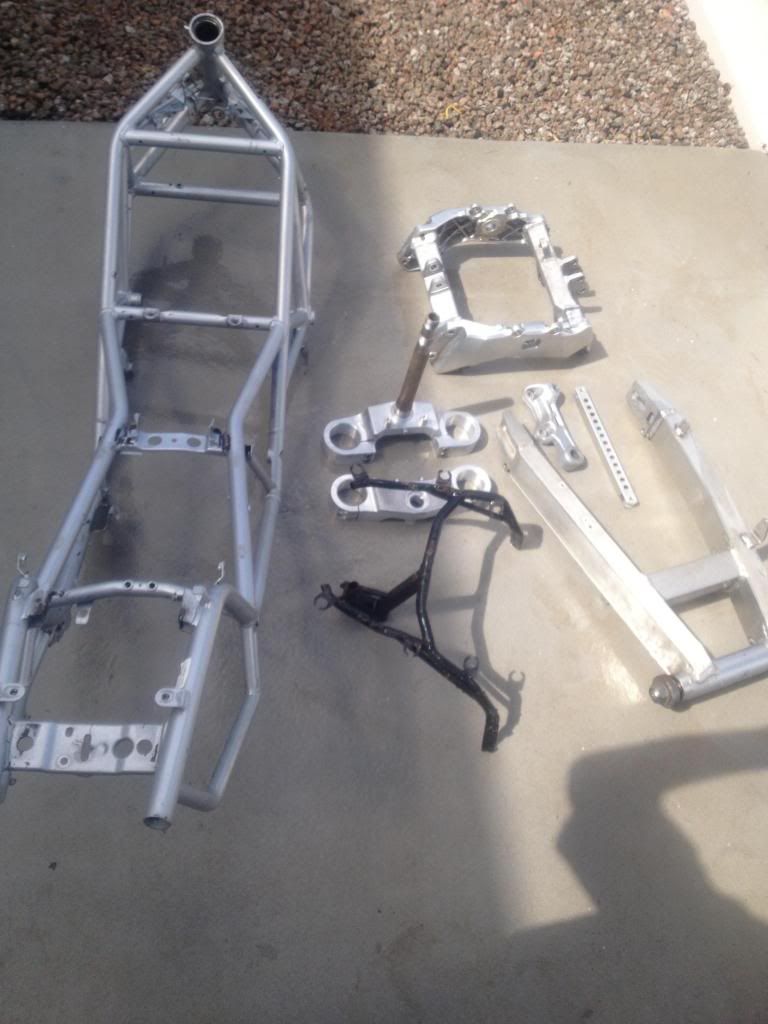
So not too long now and I'll have all these parts back in a lovely shade of black.

I got the spare yzf750 wheel I have back from Dave kellett engineering who has modified it to squeeze into the std TRX swingarm.
How we managed this was by replacing the yzf wheel bearings (28mm internal/52mm outer diameter /12mm wide) with 20/52/15 bearings. The std TRX hub bearings are 20/42/12.
So now I have a bearing that allows me to run the smaller TRX axle diameter and press straight into the YZF hub but the bearing is 3mm wider.

On the brake side of the hub, this was easily taken up by making a new top hat spacer between bearing and caliper mount to accomidate for the extra 3mm bearing width.
Before pressing the bearings in place ,there is a crush tube that sits in the centre of the hub so both bearing faces press against this tube on each end. A new one had to be manufactured to again allow for the smaller diameter std TRX axle and sit correctly upon the bearings.

The actual hub on the YZF750 rear wheel is also 5mm wider than the std TRX hub so you can't use the crush tube from a std rim, but the extra 5mm is only on the chush drive side of the hub.
So from the centre of the YZF hub to the brake disc edge, this measurement is exactly the same measurement as the std TRX hub and the new top hat spacer adressed the only change with bearing width.. (I have an idea Dave may have just taken a poofteenth out where this bearing sits down in the hub with a dremmel possibly to allow the seal to sit correctly)
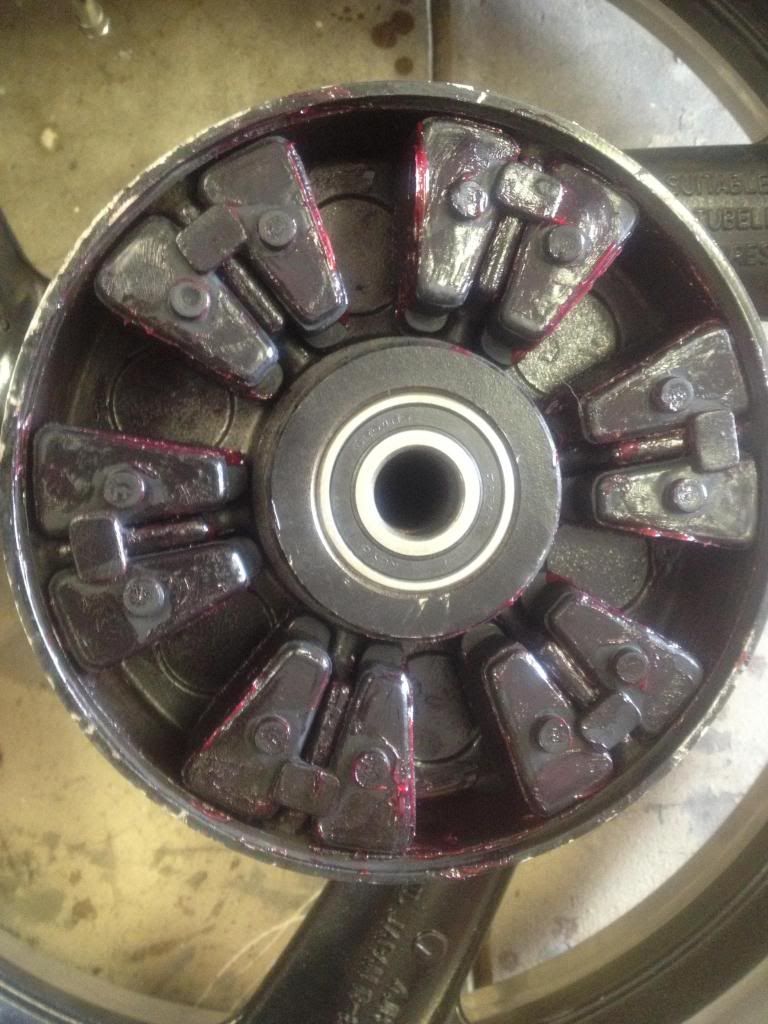
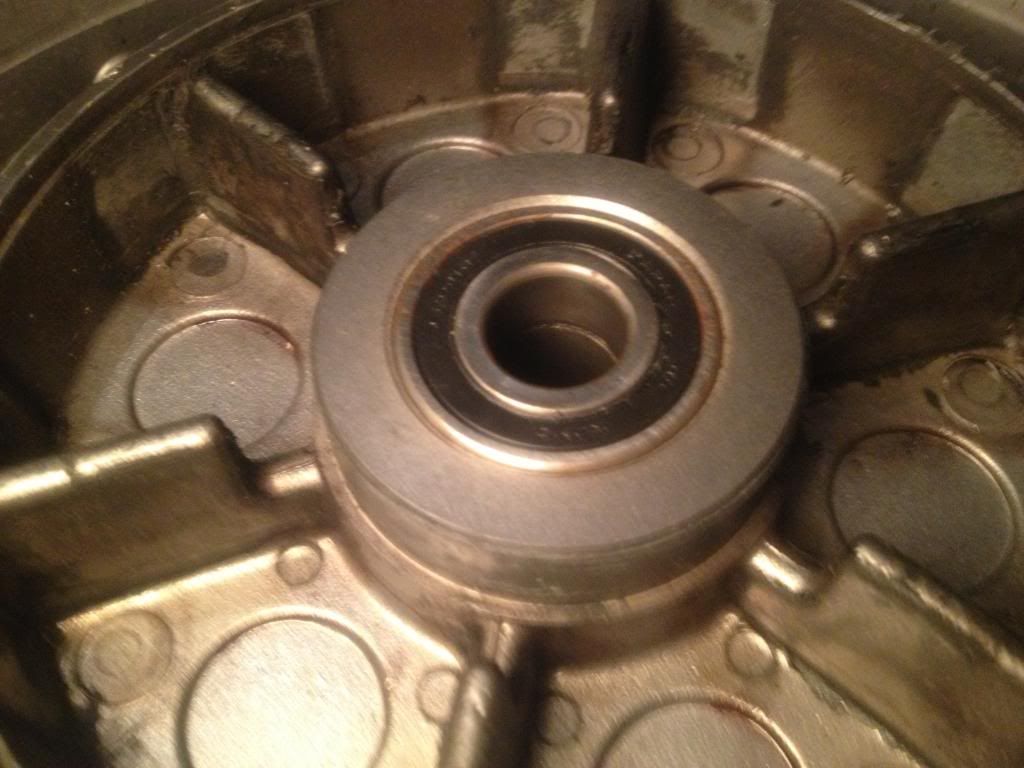
Her's a photo of the std trx hub and bearing... You can see the crush tube sitting hard up against the bearing inside the hub.
Image


Image
All I had to do to accomidate for the extra 5mm on the clutch hub side to allow for sprocket alignment was to get 5mm machined off where the sprocket bolts on. I also had the studs tapped a few mm deeper in the hub that bolt the sprocket inplace to give a little more clearance from the swingarm. (std yzf swingarm is 10mm wider at this point)
Now I have to adress the 3mm extra width with the wheel bearings. :roll:

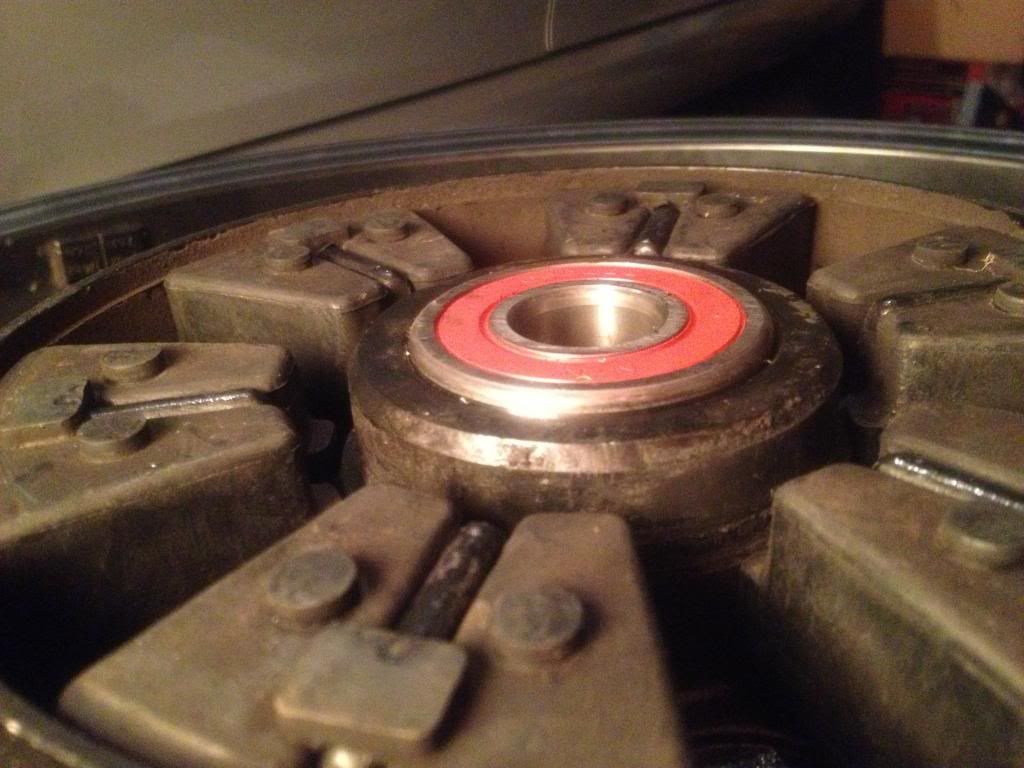
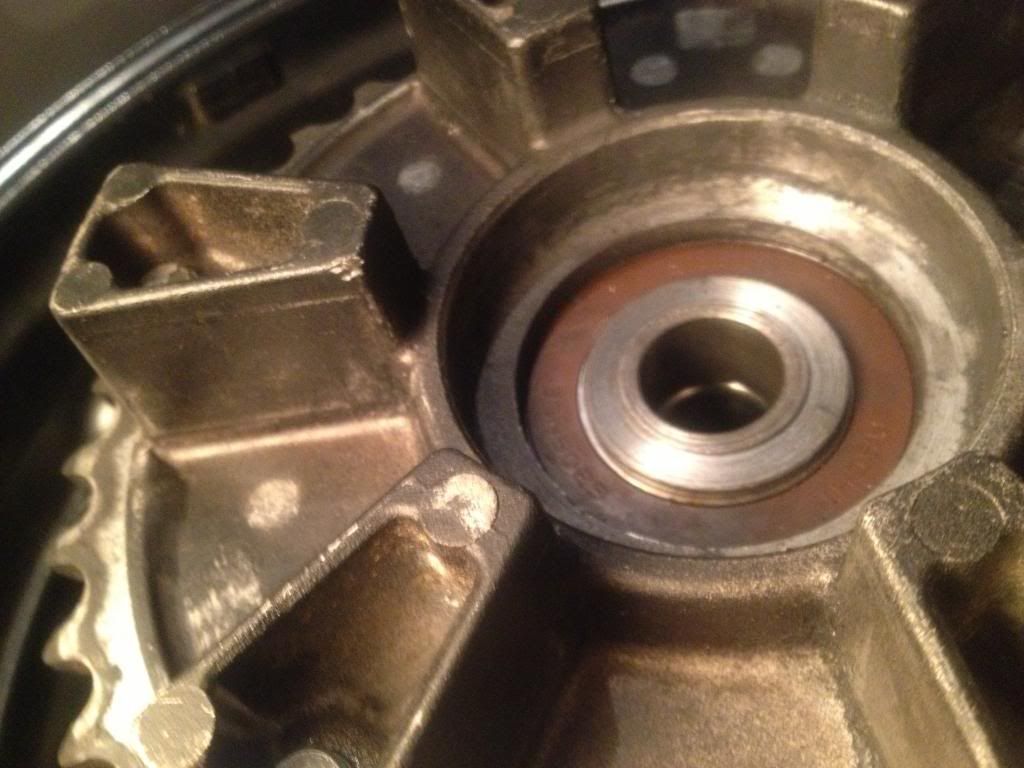
THE YZF750 HUB WITH 3MM WIDER BEARING INPLACE

Image
The centre of the clutch hub sits against this bearing in std trim so that meant I had to machine 3mm from the inside of the clutch hub so when the clutch hub sits upon the bearing ,it sits down completely against the cush drive rubbers as in std trim.

THE INSIDE OF THE CLUTCH HUB WITH 3MM REMOVED

Image

This allowed also for the std spacer to be utilised on this side of the hub.
So if need another wheel as this one is for trackdays and 180 slick tyres, I can just make another crush tube and press the new bearings inplace on another rim for street use..
I have 2 std trx rear rims already set up with 170 tyres with a collective 1500km wear on them so I'll keep these for everyday use till burnt up until I get a feel with the 180/5.5" rim on the trackdays.

I'll load photos of this over the next day or two. to make a little more sense to it all... :wink:

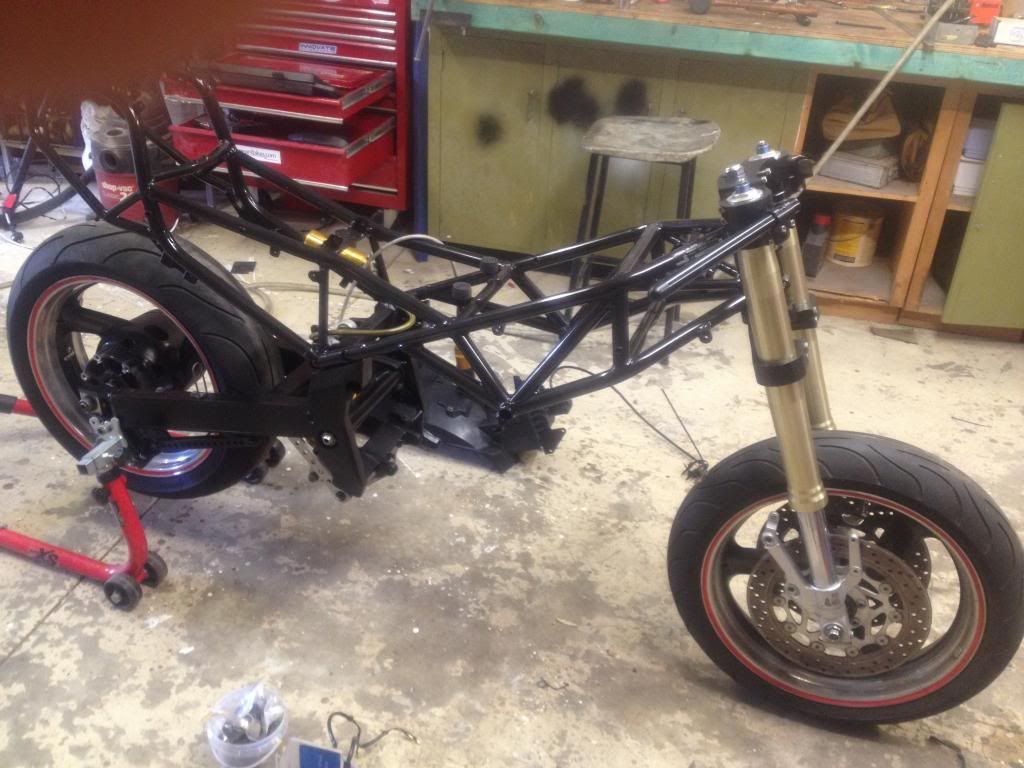
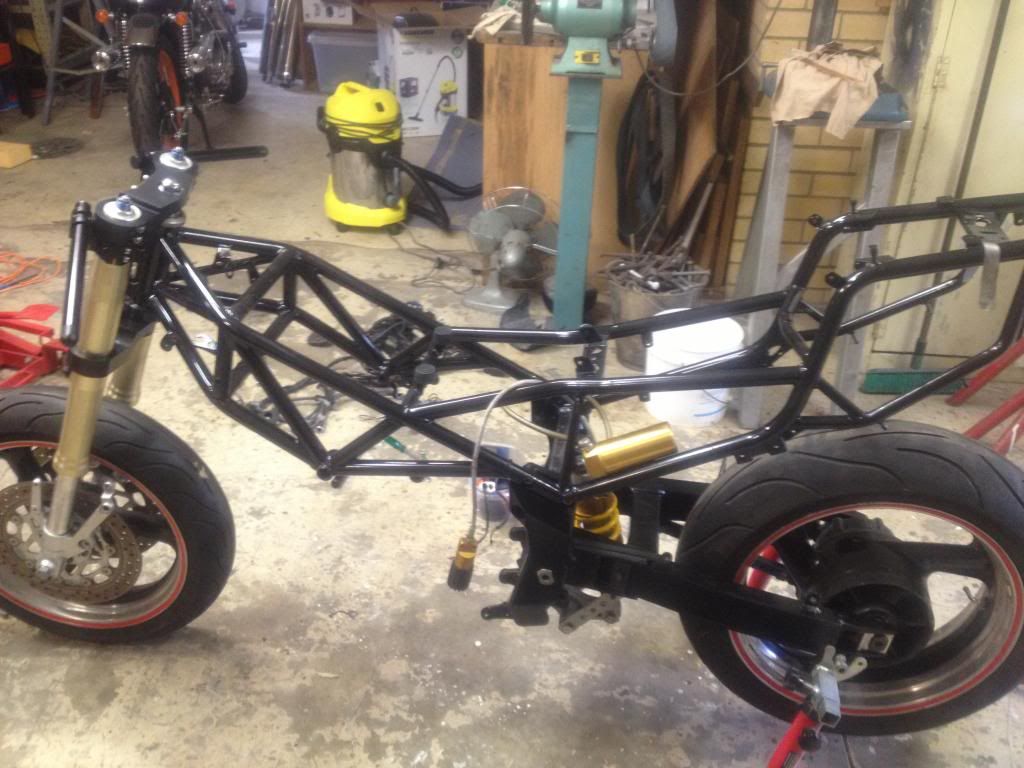
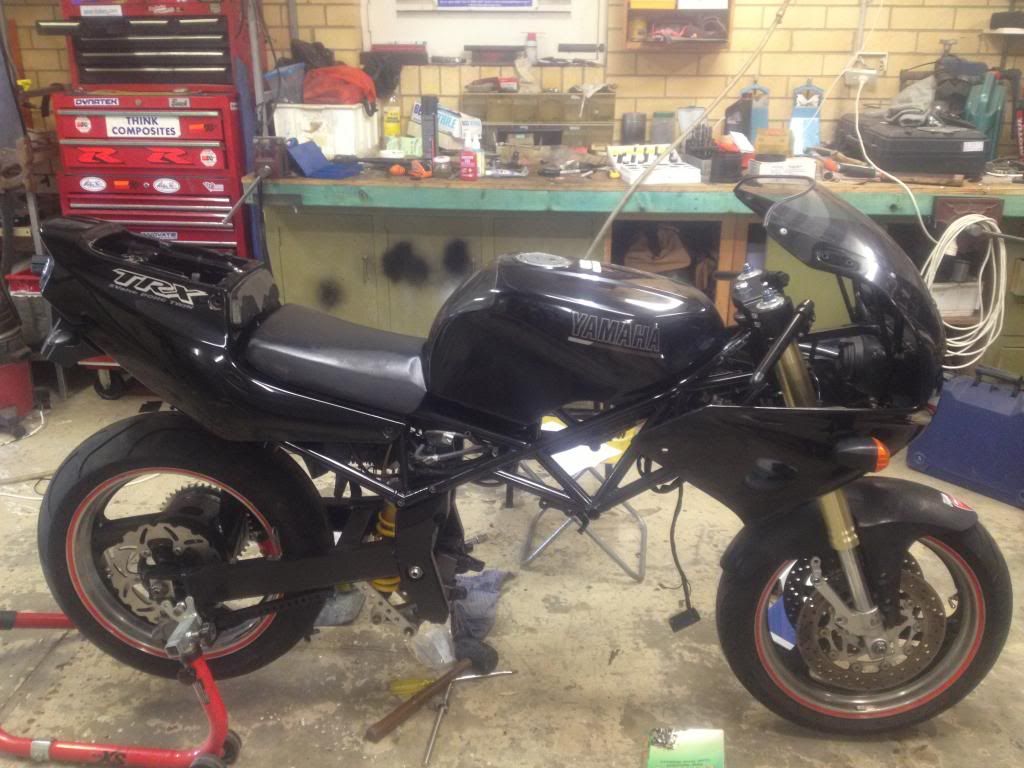
So rolling chassis once I get the frame and parts back from Alex with all new bearings (apart from steering head, I'll just repack these :wink: as there is nothing wrong with them) and bushes throughout and the fun begins mounting the ignition onto the top tree, fitting the Koso dash and dynatec coils all powered via a lithium battery.
laughter is the best medicine

User avatar
Tarwetijger
TRX-Enthusiast
Posts: 1537
Joined: Tue May 15, 2007 9:31 am
Location: Netherlands, Assen
Contact:

Re: What did you do today? Cobba's rebuild

Post by Tarwetijger » Tue Jan 21, 2014 4:30 pm

cobbadiggabuddyblooo wrote: 8<
I have 2 std trx rear rims already set up with 170 tyres with a collective 1500km wear on them so I'll keep these for everyday use till burnt up until I get a feel with the 180/5.5" rim on the trackdays.
Are you sure about that?
viewtopic.php?f=6&t=4941

User avatar
M.V.
Site Sponsor
Posts: 1509
Joined: Sat Jul 04, 2009 3:23 am
Location: Melbourne, Australia

Re: What did you do today? Cobba's rebuild

Post by M.V. » Wed Jan 22, 2014 5:14 am

Good stuff Cobba, loving this thread! Matt black I hope? :)

Hello billet triple clamps, where did you find those?

cobbadiggabuddyblooo
Site Sponsor
Posts: 6809
Joined: Thu Aug 28, 2008 9:19 am
Location: Brisbane,Australia

Re: What did you do today? Cobba's rebuild

Post by cobbadiggabuddyblooo » Wed Jan 22, 2014 5:34 am

Suspension and geometry...
Two keys points raised and two keys I adressed with this rebuild.
That's why I had the billett trees made up for the R1 forks to keep the same offsett and height as the original spec TRX.
I was quite content with the handling characteristics of the TRX learning through the stages of suspension improvements but I knew there was always more to gain.
From standard forks and rear shock, then upgrading the forks by having them sprung to my weight and Promech emulators which differ from the usual gold valves as the employ and extra shim stack to also deal with dive on the forks.
The R6 shock gave a stiffer spring but still suffered from squatt. It may have the same stroke as the std TRX shock but the rising rate linkage and dogbone lenght, swingarm length and gearing all play a part in setting up the damping charateristics and ultimately it's valved for an R6.
The Ohlin then on the rear again rebuilt, resprung to my weight and the weight of the TRX stopped the squatting issues and made the bike more complient under brakes and opening the throttle as exiting corners.
Throughout the last few modifications I've ran a 170 on the rear and 70 series on the front . I've tried various lengths of dog bones from 10mm shorter YZF, std and 5mm shorter. But I settled with the 5mm shorter and the suspension and damping was factored in with this and the 170 tyre and 17/41 gearing.
So all I can do it try the 5.5" rim and tweek the damping settings and if I find no noticable improvements with no real losses, the only gain is being able to source 180 slicks cheaper than 160's which was the reason for this mod.
I still have both std rims and a clutch drive for them so I can always change back if not happy.
I should be down close to the 180-185kg wet when on the road again.
That is a great thread you started and a good one to bookmark because there is a lot to be learnt there and I've read it a few times over the years as a reference.
Factors most don't think about like aspect ratio of the tyres may be the same but this is relevent to the width so again you have an increase in height which again ultimately affects your gearing choice and damping settings.

I'll be keeping the 170 rear std rear rim to start while I fine tune the R1 front end.
Again rebuilt,resprung and revalved to suit the trx and my weight and riding style also adding gold valves for both compression and rebound.
We can only try ..
laughter is the best medicine

User avatar
M.V.
Site Sponsor
Posts: 1509
Joined: Sat Jul 04, 2009 3:23 am
Location: Melbourne, Australia

Re: What did you do today? Cobba's rebuild

Post by M.V. » Wed Jan 22, 2014 6:38 am

Good stuff Cobba, I too am a fan of the TRX handling. I've ridden plenty of other bikes with plenty of power :P , but the handling usually leaves me cold.

What's the TRX offset? The R1 triple I am using on my VFR has a 25mm offset, but there's an earlier version with 35mm offset.

cobbadiggabuddyblooo
Site Sponsor
Posts: 6809
Joined: Thu Aug 28, 2008 9:19 am
Location: Brisbane,Australia

Re: What did you do today? Cobba's rebuild

Post by cobbadiggabuddyblooo » Wed Jan 22, 2014 8:51 am

Haven't got the figure infront of me at present but I have an idea the 03 model R1 had the same offsett but it doesn't adress the height difference with the shorter R1 forks.
I've got the info somewhere in my folder at Rod's. I'll dig up the figures and post them up. :wink:
laughter is the best medicine

alextrx850
Site Sponsor
Posts: 2149
Joined: Sat Apr 02, 2011 10:36 pm
Location: brisbane AUSTRALIA

Re: What did you do today? Cobba's rebuild

Post by alextrx850 » Wed Jan 22, 2014 10:49 am

cobbadiggabuddyblooo wrote:Haven't got the figure infront of me at present but I have an idea the 03 model R1 had the same offsett but it doesn't adress the height difference with the shorter R1 forks.
I've got the info somewhere in my folder at Rod's. I'll dig up the figures and post them up. :wink:
I think it was Mincehead in the Tech and Trouble section ..suggested the TRX rake was at 25 degrees.

cobbadiggabuddyblooo
Site Sponsor
Posts: 6809
Joined: Thu Aug 28, 2008 9:19 am
Location: Brisbane,Australia

Re: What did you do today? Cobba's rebuild

Post by cobbadiggabuddyblooo » Wed Jan 22, 2014 2:45 pm

30mm offset and with the stepped down top yoke it gives me the same rake plus there is no issue with dropping the forks through the trees a few mm to offset for the 70 series tyre.
laughter is the best medicine

cobbadiggabuddyblooo
Site Sponsor
Posts: 6809
Joined: Thu Aug 28, 2008 9:19 am
Location: Brisbane,Australia

Re: What did you do today? Cobba's rebuild

Post by cobbadiggabuddyblooo » Tue Jan 28, 2014 5:49 am

10 out of 10 to Alex once more for looking after the troops up here with another excellent paint job done.. =D> =D>

Next stage over this week is to get back to a rolling chassis and adressing the wiring harness.
Making sure I have a consistent power source to all components with the least amount of loss.

Image

With carbon fibre tape to cover sections inside the swingarm protecting from stonechips and a clear plastic strip to protect where the remote res, sits for the rear shock, Thanks again to Alex for dotting the I's and crossing the tees for a great overall finish.

Image
laughter is the best medicine

alextrx850
Site Sponsor
Posts: 2149
Joined: Sat Apr 02, 2011 10:36 pm
Location: brisbane AUSTRALIA

Re: What did you do today? Cobba's rebuild

Post by alextrx850 » Tue Jan 28, 2014 8:44 am

Thanks Brian,.you.couldn't resist doing something there =D>
The build is now on the upward run.. =D>

Uh..you DO know its upside down ? :lol:

User avatar
Rod.s
Site Sponsor
Posts: 1404
Joined: Sun Apr 25, 2010 11:01 am
Location: Brisbane, Australia

Re: What did you do today? Cobba's rebuild

Post by Rod.s » Tue Jan 28, 2014 9:27 am

alextrx850 wrote:Thanks Brian,.you.couldn't resist doing something there =D>
The build is now on the upward run.. =D>

Uh..you DO know its upside down ? :lol:
You're the man, a big thanks from me for your excellent work :cheers:
If it's not made in China, it's a fake!

User avatar
Rod.s
Site Sponsor
Posts: 1404
Joined: Sun Apr 25, 2010 11:01 am
Location: Brisbane, Australia

Re: What did you do today? Cobba's rebuild

Post by Rod.s » Tue Jan 28, 2014 9:28 am

cobbadiggabuddyblooo wrote: Next stage over this week is to get back to a rolling chassis and adressing the wiring harness.
Making sure I have a consistent power source to all components with the least amount of loss.
Yippee electrics :study: can we do it Brian, yes we can :lol:
If it's not made in China, it's a fake!

cobbadiggabuddyblooo
Site Sponsor
Posts: 6809
Joined: Thu Aug 28, 2008 9:19 am
Location: Brisbane,Australia

Re: What did you do today? Cobba's rebuild

Post by cobbadiggabuddyblooo » Thu Jan 30, 2014 2:23 pm

2 days work and here we are and all the while watching Rod sporting a few more grey hairs after sorting out the carbies on his xt600 through this period. :lol: :lol: It's a bit frustrating though puttinga dirty nut and bolt on a nice clean surface now.. :lol: ..let alone running taps and dies over everything as they go back in place.
The fun begins tomorrow as I scrub clean the wiring harness and individually clean each terminal..
Image

Image
laughter is the best medicine

cobbadiggabuddyblooo
Site Sponsor
Posts: 6809
Joined: Thu Aug 28, 2008 9:19 am
Location: Brisbane,Australia

Re: What did you do today? Cobba's rebuild

Post by cobbadiggabuddyblooo » Fri Jan 31, 2014 4:12 pm

Another hard day at the office as I start by placing the new cush drive rubbers that arrived this morning and placing on the 520 rear sprocket.With the old rubbers inplace the clutch hub would just fall out if the rear wheel was turned on it's side so money well spent I feel. A touch of rubber grease helps the nice new tight fit and pressed firmly into place with all my weight to get it sitting snug inplace.
I'm using a 41tooth rear sprocket from a xr600 but I had to drill out the holes by 2mm to fit the studs on the TRX clutch hub, so again thanks to Rod with all the tools and assorted extras needed on hand to do this rebuild.
I'd be pulling my hair out in my tiny little garage.

Image

Then time to adress the other side of the back wheel with a new disc. Using loctite on each thread and my lesson for the day as I was made aware by the fella fuming me out all day as he works on his xt600 :lol: is.
The bonding agent in loctite reacts with metal so avoid placing the outlet of the bottle on the nut of bolt your applying it to.(to stop a hard residue building up inside the nozzle) So each and every one I drip the Loctite onto a cabletie and the paint it on with that to stop contamination.
Image

Image

New disc in place the off to the tubs with detergent,the wiring harness scrubbing and tooth brushes to clean it all down. making sure I have a good clean connection on all the connectors or any terminal blocks.
Once dry it was a matter of laying it back in place in the frame and applying an electrical contact grease to stop any corrosion and to aid in a good flow through any point where terminal blocks or connectors are used.
Image
laughter is the best medicine

cobbadiggabuddyblooo
Site Sponsor
Posts: 6809
Joined: Thu Aug 28, 2008 9:19 am
Location: Brisbane,Australia

Re: What did you do today? Cobba's rebuild

Post by cobbadiggabuddyblooo » Fri Jan 31, 2014 4:39 pm

Image
Time to place the cosmetics back on as I work out the clearence and air flow to find a suitable spot to place the new dynatec DC-3 coils. They are too large to put back into the original mounts so time to figure out a spot that will give plenty of airflow to keep them as cool as possible but with as little restriction to the airflow of the Ramair filter fitted over the bellmouths on the FCR's.

Image
Another full day gone then when I arrive home there's another package waiting for me..
Cool bananas , it's my Koso dash..
So after dinner it was time to configure on the laptop a wiring conversion table with colour codes from the Koso dash to the colours of the wires from the TRX loom. As soon as I'm all wired up I'll post it up to make life a little easier if anyone attempts to do the changeover.
All the functions usually taken care of by the std dash are all accomidated by the Koso RX2n dash plus more if needed.
Comes complete with speed sensor and temp and oil senders. The temp sender unit screws right inplace of the std TRX water temp sender ontop of the thermostat housing.( Itried it on the spare I have in the garage)
So I'm keen to mount it up next week and complete placing the small LED indicators on too.
I'd love to ditch the std headlight too and mount a smaller round one inplace so any thoughts please feel free to throw a few ideas this way.. Thank god Rods bike was there in the garage too as a refereence while sitting the harness back inplace..
Image

I'll go for a black motor look with mine ..

Image
laughter is the best medicine

Post Reply