What did you do today? Cobba's rebuild

General Discussion Forum for TRX Enthusiasts...

Moderators: trixynut, Mincehead, dicky, phuk72, Jak, Kevtrx849

Post Reply
User avatar
Rod.s
Site Sponsor
Posts: 1404
Joined: Sun Apr 25, 2010 11:01 am
Location: Brisbane, Australia

Re: What did you do today? Cobba's rebuild

Post by Rod.s » Wed Oct 29, 2014 1:51 pm

cobbadiggabuddyblooo wrote:
Next job is to coat the face of the cases with the loctite 515 and replacing the seal on the drive shaft that lives behind the front sprocket.
Gently locate the opposing case and begin the tightening sequence on the 27 bolts till all is locked into place.
Image
18mths after dismantling the cases I now have the something that is taking shape.
Back into things this arvo and first thing I'm thinking is whats wrong with this picture ????

The image is reversed #-o
If it's not made in China, it's a fake!

User avatar
Rod.s
Site Sponsor
Posts: 1404
Joined: Sun Apr 25, 2010 11:01 am
Location: Brisbane, Australia

Re: What did you do today? Cobba's rebuild

Post by Rod.s » Wed Oct 29, 2014 1:53 pm

Con Rod wrote:When you get to the lower part of the oil tank be meticulous with making sure the gasket surfaces are clean and use loctite on the bolts to fasten to the top of the gear box. The bolts on mine would vibrate loose and I would get oil weeping. Its a bitch to sort after the fact, engine out job
Don't worry, I've superglued a bottle of 222 loctite to his right hand, some 515 master gasket to the other and he has done his penance over the cleaning bath :D
If it's not made in China, it's a fake!

cobbadiggabuddyblooo
Site Sponsor
Posts: 6809
Joined: Thu Aug 28, 2008 9:19 am
Location: Brisbane,Australia

Re: What did you do today? Cobba's rebuild

Post by cobbadiggabuddyblooo » Wed Oct 29, 2014 3:29 pm

The 515 is sooo much easier to deal with than the silicone used on a previous rebuild before I purchased the bike.
#-o 90* crank not 270*
OK split the cases once again :oops: and 10 minutes and the crank spun around and loctite 515 cleaned off in a jiffy.
Apparently the 515 loctite reacts with the metal to form the gasket but the tiny amounts that squeezed out of the case doesn't react due to the fact it is open to the air. :o
It's easily wiped clean on the outside of the case and any inside the case will be washed off by the oil on start up..
Do yourself a favour and purchase a bottle of 515 gasket forming Loctite.. 8) 8) 8)
Image
Balance shafts went in today, into the box of spares and new o rings for the shafts before fitting..
:roll: No wonder I couldn't find the making point for the key way on the crank first thing this morning. :lol: :lol:

All cleaned and coated in the assembly grease first off familiarise myself with the locating marks on the cases and balance shafts.
The balance shafts themselves are removed from the centre of the weights.
First thing needed is to get the crank in the correct position via the key way on the crank lined up with the marking on the crank case.
Image
Then place your balance weights in place and line up your markings on the cog to the mark on the case, then insert your balance shaft through the crank cases and in through the centre of your balance weights.
Image

Image

Image
All spins free so I'm finally content with the afternoon work

NOTE..
Make sure you place the water pump gear in place before fitting the front balancer shaft.
It is driven from this balance shaft.
If you forget during your rebuild it can be accessed by removing the bottom pan, the rotor (so you can access the front balance shaft) .
No need to split the cases. :wink:
Last edited by cobbadiggabuddyblooo on Fri Feb 20, 2015 5:12 am, edited 1 time in total.
laughter is the best medicine

User avatar
brockzila
TRX-Enthusiast
Posts: 348
Joined: Mon Feb 18, 2008 2:30 pm

Re: What did you do today? Cobba's rebuild

Post by brockzila » Thu Oct 30, 2014 4:27 am

cobbadiggabuddyblooo wrote:Image
is this what your chasing???
16.5mm on a std TRX 10.5:1 piston
Any chance you could do the same on a high comp piston??

I have found a high performance car piston that has the same size pin and bore. but it has a higher compression height. Im getting the crown thickness measured to see if the piston can be machined down to the same height as a TRX piston and a new ring grove and valve pocket machined in it.

The car pistons are under $200NZD for a set of 4 and come with rings. the motor they come out of has a rev limit in the range of a trx and the pistons come ceramic coated in the box. its worth a shot to see if they will work.

Thanks

Brock
Is it Brock friendly???

sanddune51
Site Sponsor
Posts: 399
Joined: Sun Oct 11, 2009 6:07 am
Location: Kent, UK.

Re: What did you do today? Cobba's rebuild

Post by sanddune51 » Thu Oct 30, 2014 12:12 pm

I think you might be overlooking the fact that car pistons will have 4 cut outs in the crown not 5 :wink:


Mark.

cobbadiggabuddyblooo
Site Sponsor
Posts: 6809
Joined: Thu Aug 28, 2008 9:19 am
Location: Brisbane,Australia

Re: What did you do today? Cobba's rebuild

Post by cobbadiggabuddyblooo » Thu Oct 30, 2014 12:31 pm

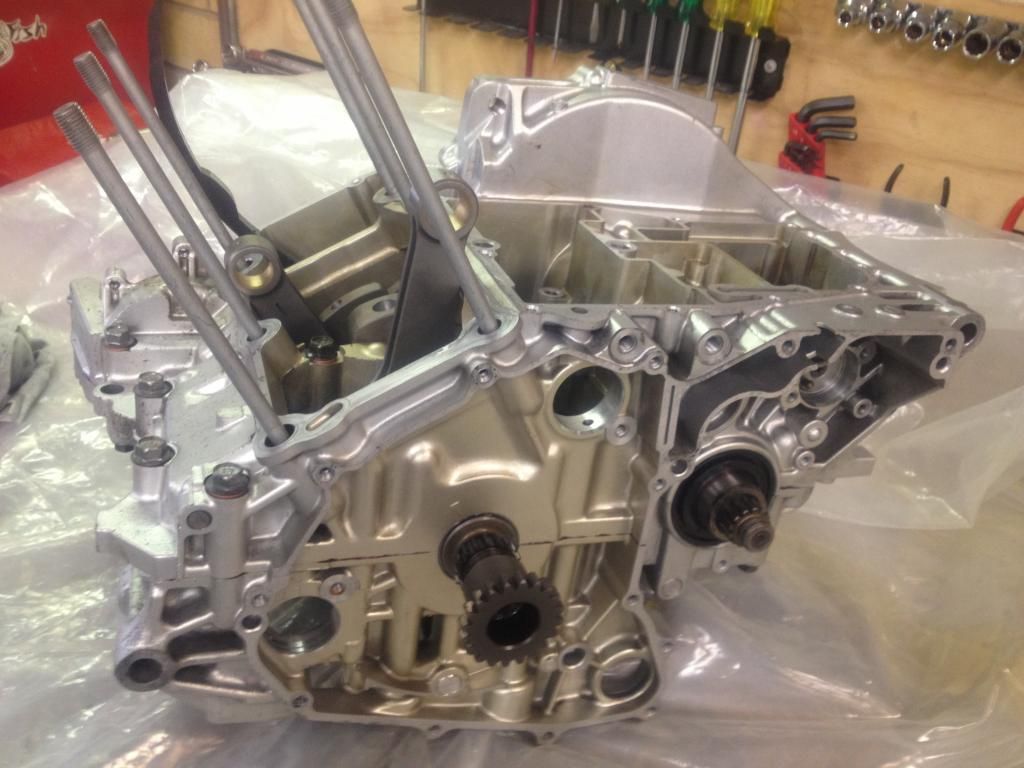
After 18 months I finally picked up the head n barrels all completed this arvo. =D> =D>
A text at 2.10am this morning from John to tell me all is finally ready to be picked up.
Seems that he has been on salary from Yamaha this last 12mths and he's been doing 12-18hr days .
Finishes at the shop and then over to work on the Yamaha race team bikes till all hours.
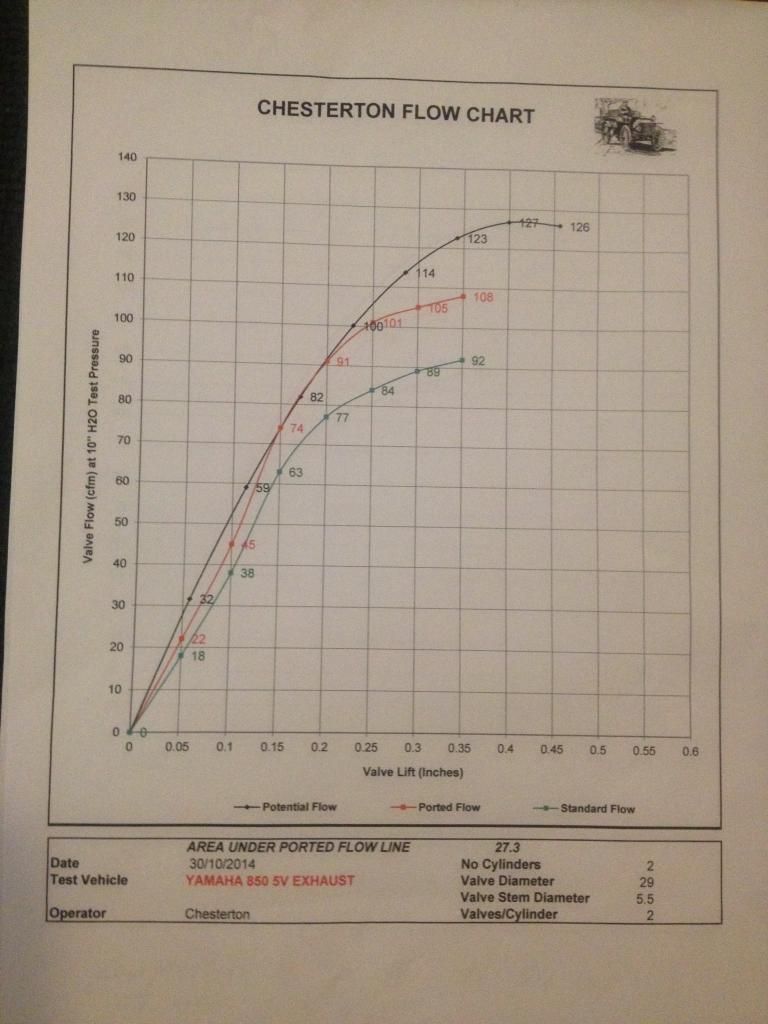
He handed me the flow charts from the head with a set of Mark's 1mm oversize valves and Kent cams.
The green line is the head in original form
The red line is with the 1mm oversize valves and flow work.
The black line is optimum flow(ideal world with a cylindrical port falling straight onto the valve with no bend ),
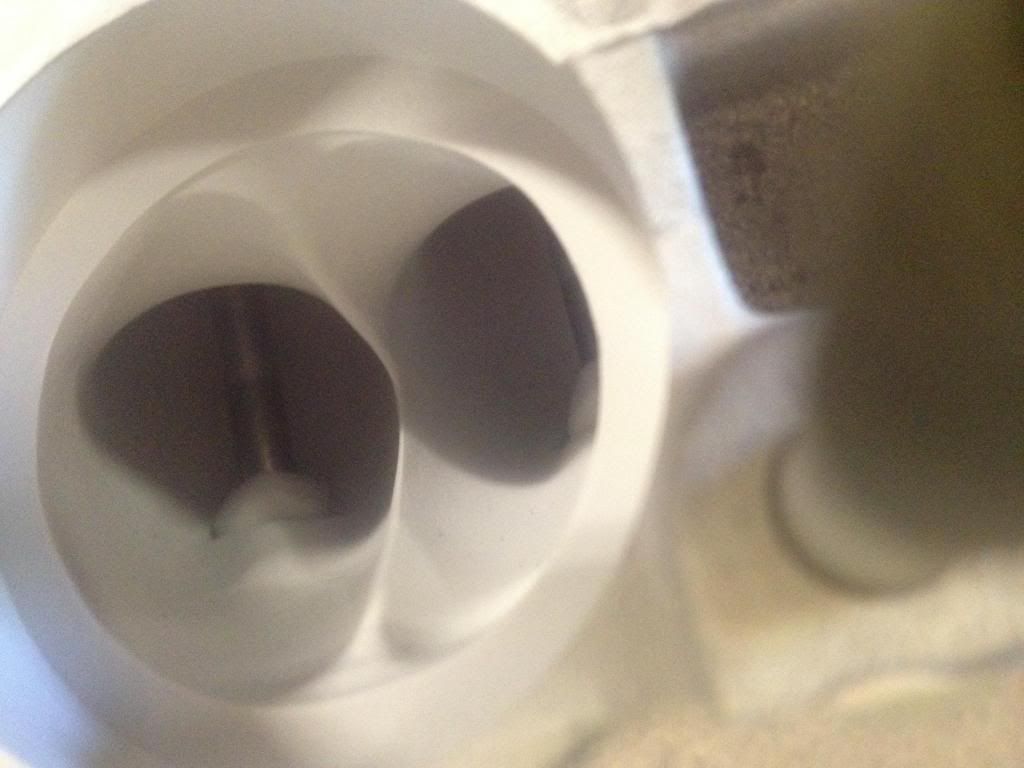
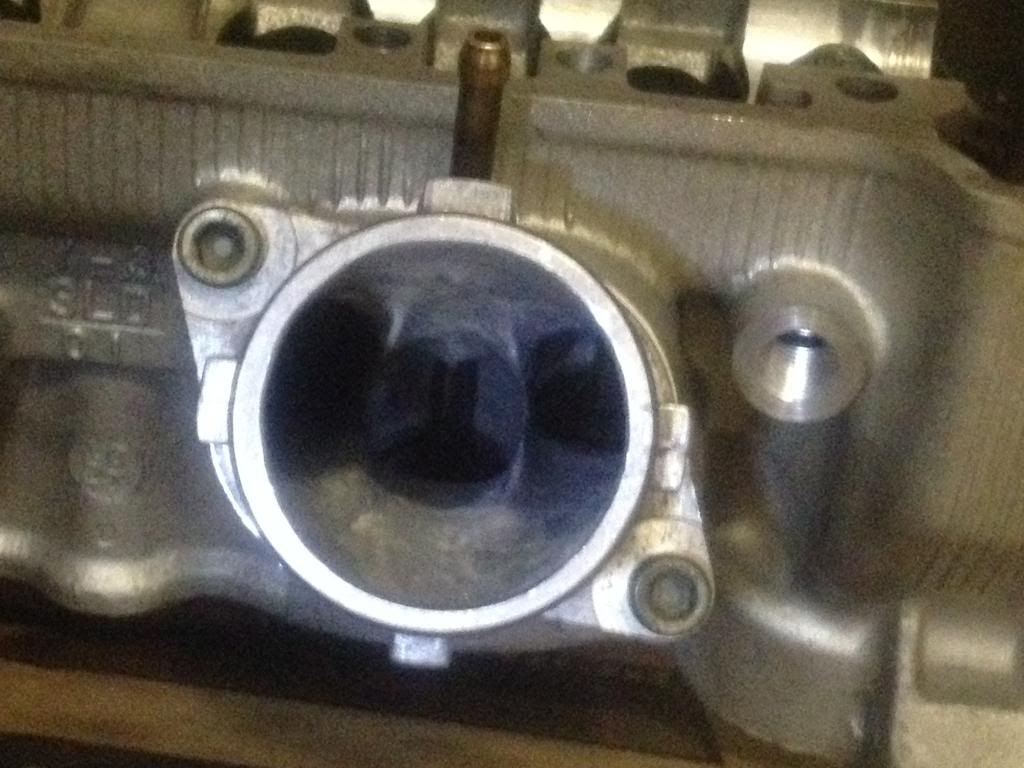
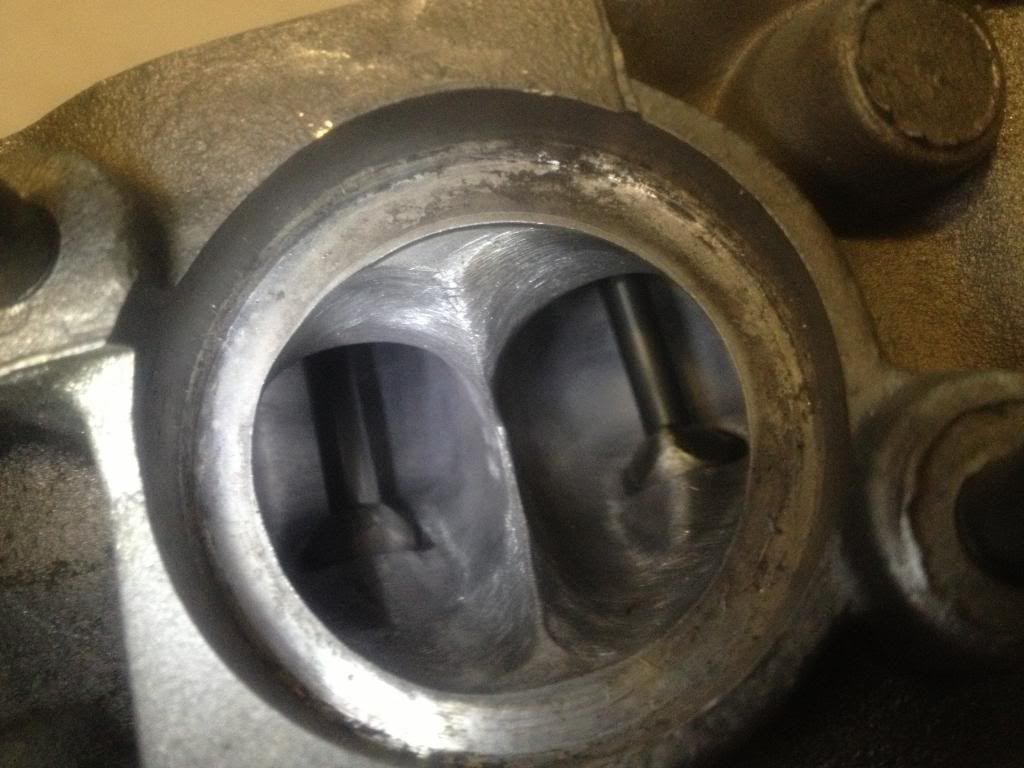
But as he pointed out this is pretty much unreachable because the TRX port curves down onto the valve, the more flow the less efficient the bottom side of the port becomes hence the more D shaped port with a flat bottom to aid the flow.
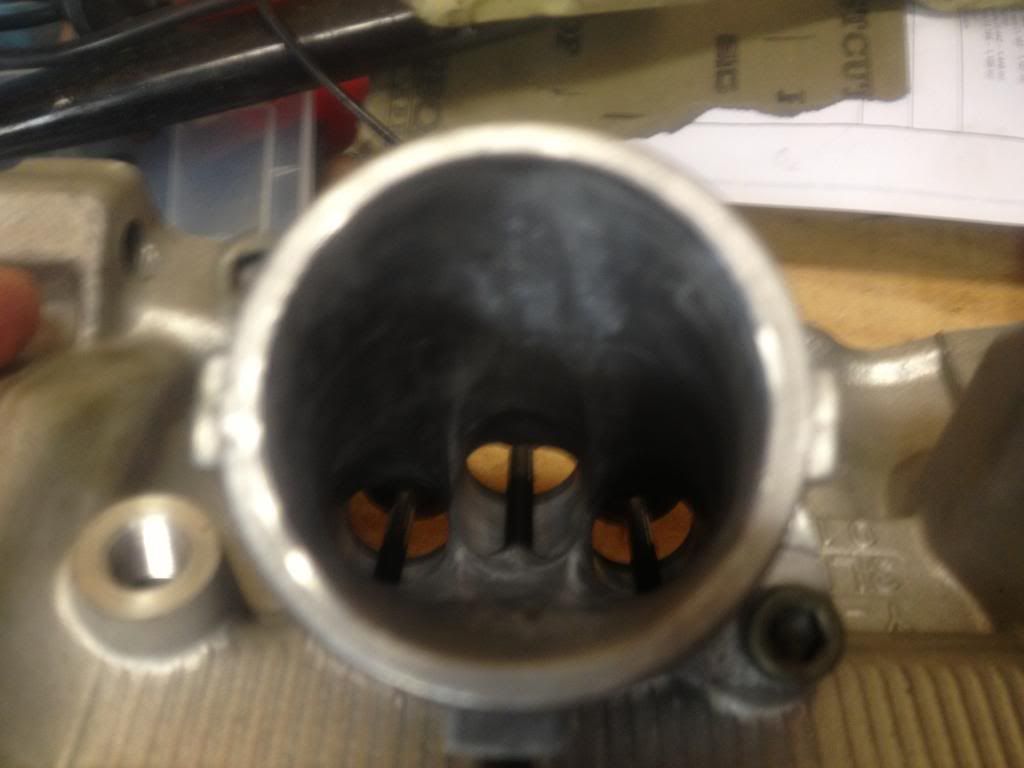
So i'm up from 92cfm to 108cfm on the EXHAUST ports with close to optimum around half lift.

Image

Again on the inlet gains from 116cfm to 139cfm and finding myself ever closer to optimum till just after half lift.

Image

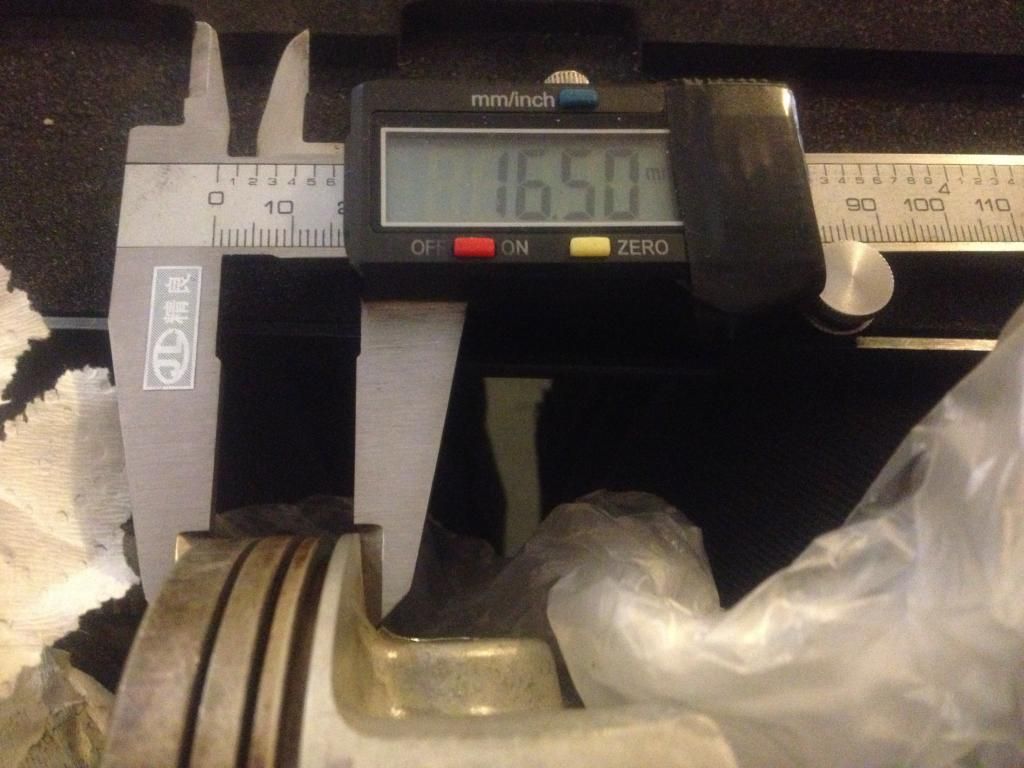
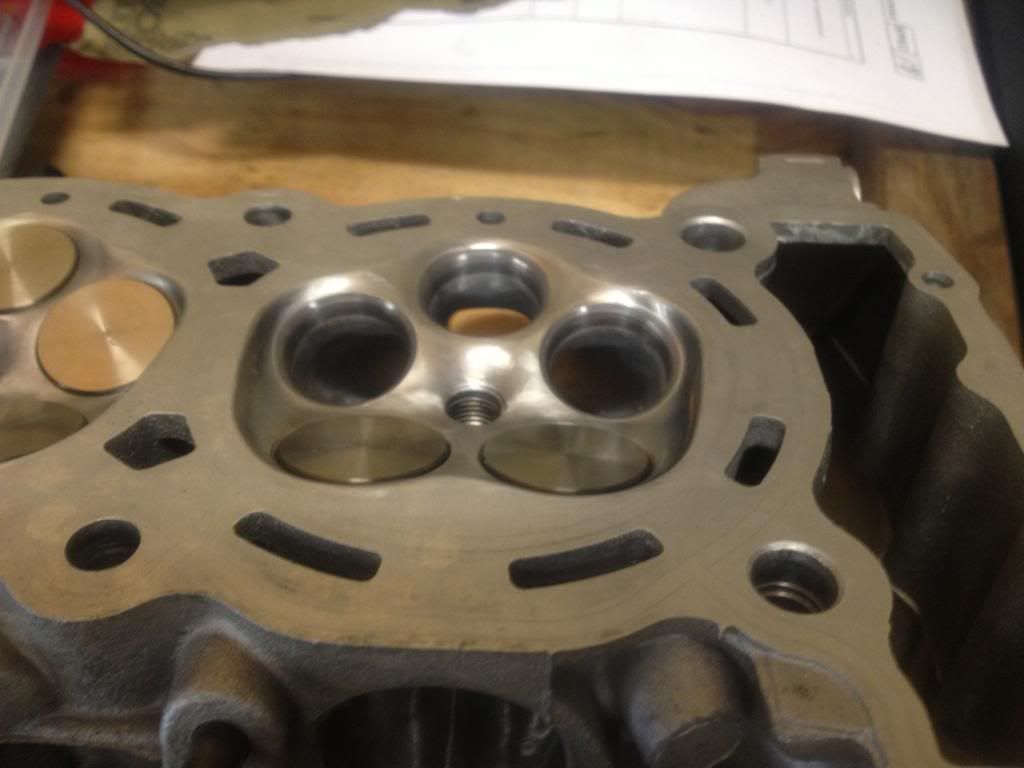
Final compression ratio of 11.54:1 with the std 1mm gasket and a deck height of just over 1mm (0.050")
All the valves springs have been shimmed so correct lengths to achieve optimum pressure and no binding.
There is clearance so there will be no contact between the valves just incase i give it a bit of a rev if I hit a neutral and at 0.050" deck height there will be enough clearance to avoid touching the valve pockets in the piston.

When I mentioned on having copper head gaskets made up , he agreed on the benifits with a copper head gasket and hollimer spray to seal it all off. John made me aware of the compression gains in contact with the copper gasket and the steel ring from the bore.
Advice on going under the 0.50" squish was maybe 0.048" but wouldn't really want to go down much more as you start to loose the integrity and margin for error.
Again to improve the flow a little more ,options open like decreasing valve stem size again lower the integrity and you get a little more waggle or movement .
Was it worth the wait, I feel pretty confident and the support is there to question him if need be for advise.
Last edited by cobbadiggabuddyblooo on Thu Oct 30, 2014 4:19 pm, edited 1 time in total.
laughter is the best medicine

User avatar
Killerwhale
Site Sponsor
Posts: 3797
Joined: Tue Aug 22, 2006 8:41 am
Location: GBG/Sweden
Contact:

Re: What did you do today? Cobba's rebuild

Post by Killerwhale » Thu Oct 30, 2014 3:52 pm

Did they do any work on it or just flowed it with/without?
Makes me itching for some oversized, although thinking of getting me a ride2....B-king

cobbadiggabuddyblooo
Site Sponsor
Posts: 6809
Joined: Thu Aug 28, 2008 9:19 am
Location: Brisbane,Australia

Re: What did you do today? Cobba's rebuild

Post by cobbadiggabuddyblooo » Thu Oct 30, 2014 4:01 pm

yes Killer,they did some work on it, removed a lot of the guides in the ports and flattened the bottom and as he said, the next stage is thinning the valve stems and changing the shape of the valve itself but at the expense of reliability.
He feels there may be a little more to gain from the 2mm oversize valves and I'll hand him the spare head I have to do exactly that early next year.
laughter is the best medicine

cobbadiggabuddyblooo
Site Sponsor
Posts: 6809
Joined: Thu Aug 28, 2008 9:19 am
Location: Brisbane,Australia

Re: What did you do today? Cobba's rebuild

Post by cobbadiggabuddyblooo » Thu Oct 30, 2014 4:07 pm

Image

Image

Image

Image

Image
laughter is the best medicine

User avatar
Killerwhale
Site Sponsor
Posts: 3797
Joined: Tue Aug 22, 2006 8:41 am
Location: GBG/Sweden
Contact:

Re: What did you do today? Cobba's rebuild

Post by Killerwhale » Thu Oct 30, 2014 5:40 pm

Interesting to see some other work, also my head maestro said yamaha actually did a nice job on it and there where not so much gains to get...especially on the inlets.
Mine is (as you prob seen already) also upwelded in the EX....interesting thing though...my head was ported for race...mate in sweden head was ported for grunt....he ended up with more on top and me more low/mid grunt :D

User avatar
brockzila
TRX-Enthusiast
Posts: 348
Joined: Mon Feb 18, 2008 2:30 pm

Re: What did you do today? Cobba's rebuild

Post by brockzila » Thu Oct 30, 2014 7:32 pm

sanddune51 wrote:I think you might be overlooking the fact that car pistons will have 4 cut outs in the crown not 5 :wink:


Mark.
nope

it looks like i will have to take 4-5mm off the crown. this will remove all current valve pockets. so i will be getting new valve pockets machined in the top ,
Is it Brock friendly???

User avatar
Rod.s
Site Sponsor
Posts: 1404
Joined: Sun Apr 25, 2010 11:01 am
Location: Brisbane, Australia

Re: What did you do today? Cobba's rebuild

Post by Rod.s » Fri Oct 31, 2014 4:47 am

brockzila wrote:
sanddune51 wrote:I think you might be overlooking the fact that car pistons will have 4 cut outs in the crown not 5 :wink:


Mark.
nope

it looks like i will have to take 4-5mm off the crown. this will remove all current valve pockets. so i will be getting new valve pockets machined in the top ,
Then you will lose all integrity in the crown. 4-5mm is a lot to take from a crown, then machine in the cutouts, lose the ceramic coating, not to mention the compression ring…….Cheeper and better to buy engineered, designed and correctly machined pistons manufactured for the TRX850.
If it's not made in China, it's a fake!

cobbadiggabuddyblooo
Site Sponsor
Posts: 6809
Joined: Thu Aug 28, 2008 9:19 am
Location: Brisbane,Australia

Re: What did you do today? Cobba's rebuild

Post by cobbadiggabuddyblooo » Fri Oct 31, 2014 11:08 am

Nice 5hr ride with Rod through the Sunshine coast hinterland to start the day before doing a little more on the motor this afternoon.
Before I did anything I double checked all was complete with the gearbox,crank and balance shafts before I moved onto the oil pan on the bottom of the motor.
Digging through the spares i found all what I needed and proceeded by a final clean and 1st on the list was the housing for the strainer.
Image
A new gauze for the strainer plus you can see the feed from the strainer heading left to the oil pump.
The oil is sucked up and carried from the strainer sitting in the oil pan, then left along though the housing and on the end it enters up into the crank cases. Under this end is a locating dowel with an o ring so it's essential to have a good seal here so the o ring was replaced.
Image
You can see in front of the housing there is another 3 dowels with o rings that locate and seal when the oil pan is bolted in place. Again all new o rings and the next is a must do while you have the pan off.
Image
The check ball seal has a spring and steel ball and the ball sits onto of the spring and up against the seal.If your oil pressure rises to hi, this is like a pressure relief valve that releases the excess pressure into the bottom oil pan.
If this seal fails or has dirt or crud stuck under it, the wet sump behind the barrels can leak into the oil pan under gravity while the motor is turned off.
So if your doing a motor rebuild this seal is worth just spending a couple of dollars and replacing.
Next to replace was the 2 O rings on the oil element cover and place an oil filter into place. Just like you would if replacing the oil filter on an oil change to your TRX.
All ready to seal down and.... #-o #-o I left the oil pan gasket at home.
So that was the end of my days tinkering but again things are taking shape.. 8)
Last edited by cobbadiggabuddyblooo on Thu Feb 05, 2015 10:43 am, edited 1 time in total.
laughter is the best medicine

User avatar
brockzila
TRX-Enthusiast
Posts: 348
Joined: Mon Feb 18, 2008 2:30 pm

Re: What did you do today? Cobba's rebuild

Post by brockzila » Fri Oct 31, 2014 12:08 pm

this is why im wanting to get the measurement, if its close ill go make the drive to measure the thickness of the crown on the nissan piston.

im not entering this blind and clueless.

in a past life i sold pistons, rings, valves, bearings and gaskets for the largest supplier of engine recon components and v8 performance components in the country. measuring and trying to find components that were close to what the original was an every day event, re conditioners cut new ring lands, cut down valves, cut down liners to fit different applications on a regular basis. i have a toyota small end rod bush in the trans on my kwak. no issue. I also have small end bush lined up to replace my marked up TRX items. again i think its a toyota, and only needs reaming out slightly to work. I got to know who the good reconditions were and who to trust. i have already spoken one of them and got a minimum crown thickness, his recommendation is 3mm. Murry will get all parts inc std pistons and will make final call to do it or not. hes the pro.

if this nissan piston has a thick crown it may just be doable. aftermarket pistons(JE, ross, wisecoall of them) are all made from blanks and machined down to the buyers specs, my blank could already be shaped for a nissan. anything is possible if what you leave behind is still within serviceable limits. i have read on-line that the pistons in Q can have .400" or 10mm think crowns if the hi comp pistons are taller it could work?!

Hey what have i got to lose. for the few moments it takes to measure a couple of pistons might find something useful. if not i lose some time to a worth while thought processes

sorry for the thread jack
Is it Brock friendly???

User avatar
Rod.s
Site Sponsor
Posts: 1404
Joined: Sun Apr 25, 2010 11:01 am
Location: Brisbane, Australia

Re: What did you do today? Cobba's rebuild

Post by Rod.s » Fri Oct 31, 2014 2:10 pm

brockzila wrote:this is why im wanting to get the measurement, if its close ill go make the drive to measure the thickness of the crown on the nissan piston.

im not entering this blind and clueless.

in a past life i sold pistons, rings, valves, bearings and gaskets for the largest supplier of engine recon components and v8 performance components in the country. measuring and trying to find components that were close to what the original was an every day event, re conditioners cut new ring lands, cut down valves, cut down liners to fit different applications on a regular basis. i have a toyota small end rod bush in the trans on my kwak. no issue. I also have small end bush lined up to replace my marked up TRX items. again i think its a toyota, and only needs reaming out slightly to work. I got to know who the good reconditions were and who to trust. i have already spoken one of them and got a minimum crown thickness, his recommendation is 3mm. Murry will get all parts inc std pistons and will make final call to do it or not. hes the pro.

if this nissan piston has a thick crown it may just be doable. aftermarket pistons(JE, ross, wisecoall of them) are all made from blanks and machined down to the buyers specs, my blank could already be shaped for a nissan. anything is possible if what you leave behind is still within serviceable limits. i have read on-line that the pistons in Q can have .400" or 10mm think crowns if the hi comp pistons are taller it could work?!

Hey what have i got to lose. for the few moments it takes to measure a couple of pistons might find something useful. if not i lose some time to a worth while thought processes

sorry for the thread jack
Yep and the same question is still there, why?
If it's not made in China, it's a fake!

Post Reply